
brew를 통한 MySQL 설치하기
brew install
# 먼저 brew를 update
brew update

# install
brew install mysql
brew를 통한 mysql server 실행
# start
brew services start mysql

# stop
brew services stop mysql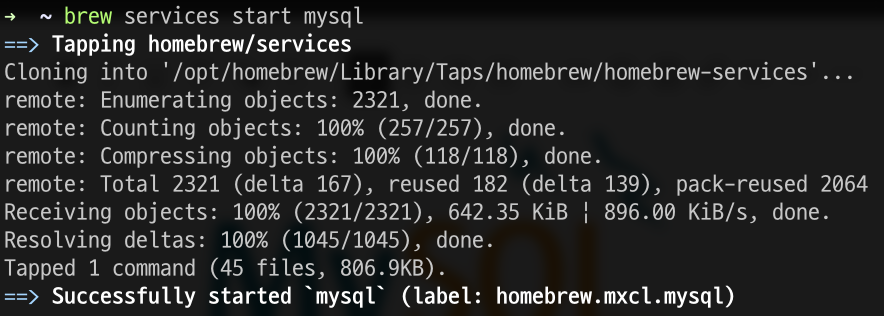
local 환경에서 연습하는 것이기 때문에 root 비번을 따로 설정하지 않았음. 만약 하고 싶으면, 아래 명령어를 통해 password 설정
mysql_secure_installation
mysql 접속(실행)
# pw 없는 경우
mysql -uroot

# pw 있는 경우 (한 번에 명령)
mysql -uroot -p{설정한 비번}

# pw 있는 경우 (비번은 따로 치기)
mysql -uroot -p
커맨드에서 간단한 명령어
schema 조회
# mysql은 ;를 붙여줌
show schemas;
schema 생성
# DB명령어에서 unique한 schema 또는 table을 지칭할 때, '1' 왼쪽(esc 아래)에 있는 빽쿼트(뒤로 꺽쇠)
create schema `test-schema`;
use schema
# 내가 사용할 schema를 세팅
use test-schema;
table 생성
# create 명령어
create table `table1` (`id` INT not null, `name` varchar(255), PRIMARY KEY(`id`));
describe 명령
# 해당 table의 전체적인 정보
describe table `table1`;

# 해당 table의 column에 대한 정보
describe `table1`;

'macOS' 카테고리의 다른 글
| [mac M1] DVC (Data Version Control) 설치 (0) | 2023.01.06 |
|---|---|
| [mac M1] git 설치 (0) | 2023.01.05 |
| minikube & kubectl 설치 및 minikube 간단히 동작해보기 (0) | 2022.12.20 |
| [Docker 입문 1] docker 설치 (0) | 2022.11.10 |
| macOS에서 Ruby / Jekyll Install 하기 (0) | 2022.10.04 |


